
Part 2: Assembling the Ornament- Video footage- “A Partridge in a Pear Tree” –DIY Christmas Ornament
Welcome back to Part 2 of our A Partridge in a Pear Tree ornament tutorial!
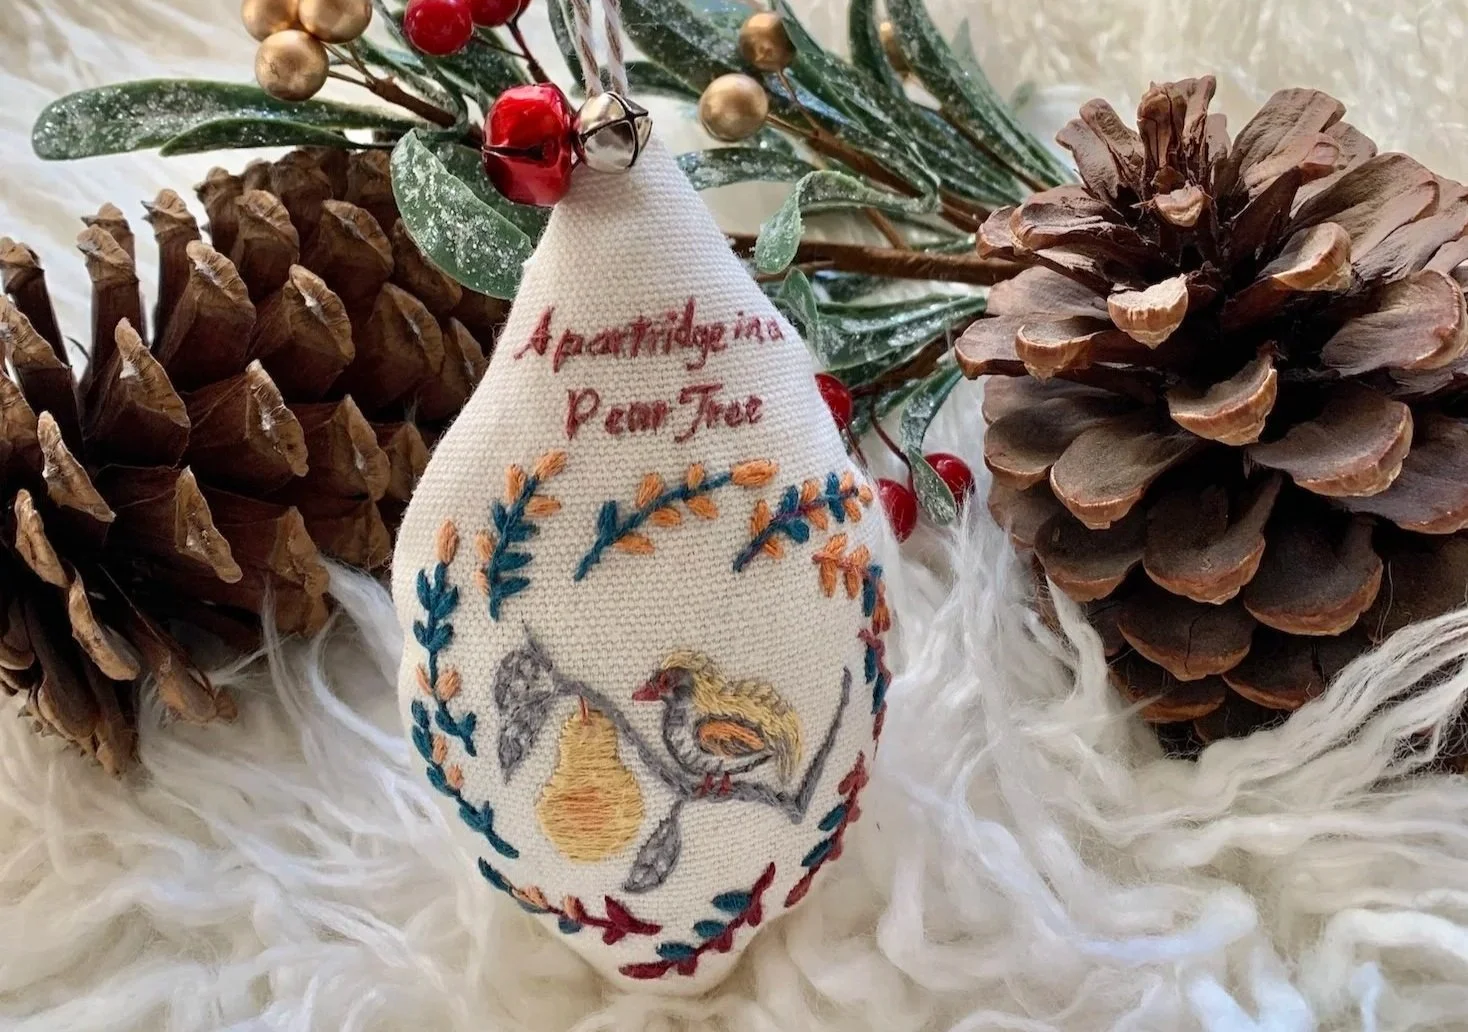
In Part 1, we stitched our little partridge design together — and today, we’ll take that finished embroidery and turn it into a charming handmade ornament for your Christmas tree.
This step is my favorite part… watching the flat embroidery become a tiny, puffy, festive keepsake feels a little bit magical. ✨
Let’s assemble it together!
The complete PDF pattern and full step-by-step written instructions are available in my shop if you’d like to stitch along. Link here
Watch how to assemble this Christmas ornament